
Planning
Smart Home Planning for a Singapore Renovation
Plan smart switches, lighting, curtains, sensors, hubs and network points before renovation work closes the walls and ceilings.
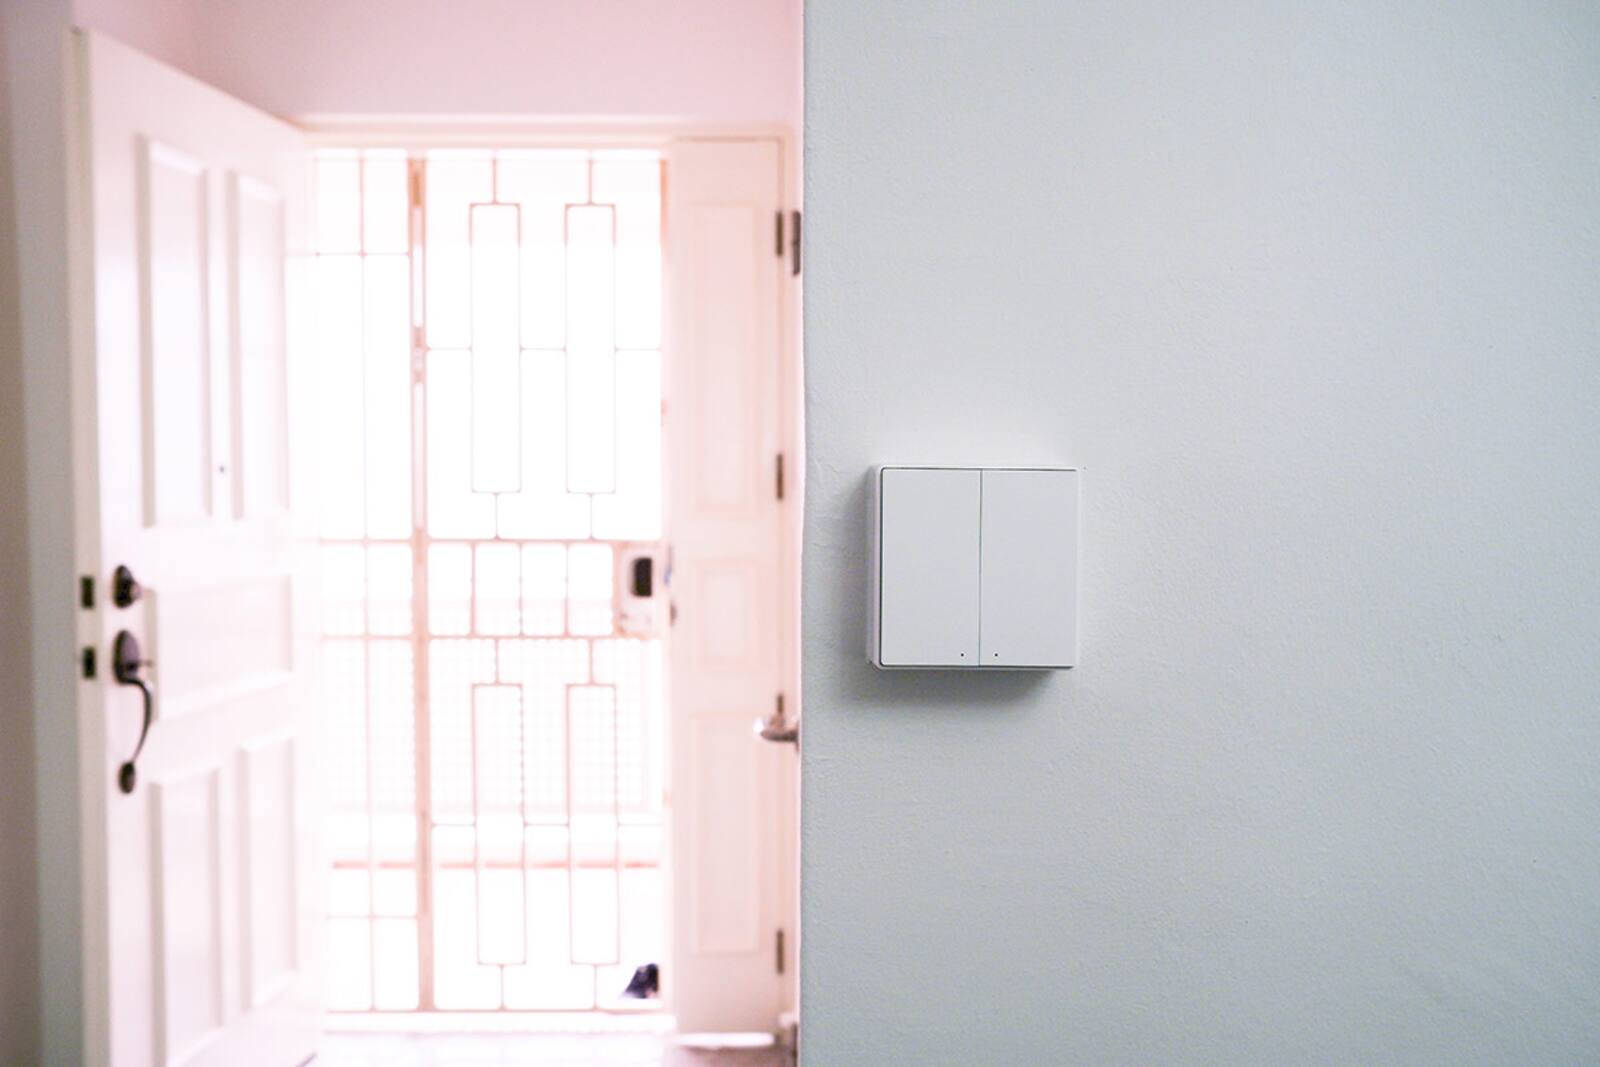
The smart home decisions that matter most are usually made before the carpentry, electrical work and curtain pelmets are finished. You can swap a product later. A missing power point, a switch box that's too shallow or curtain wiring you can't get to is much harder to fix once the walls are closed.
Planning room by room keeps things practical, and it gives your electrician, interior designer, curtain supplier and smart home installer the same plan to work from.
On this page
- Start with how you'll use each room, not a shopping list
- Switches, neutral wires and box depth
- One room-by-room plan for every contractor
- Smart switches or smart lights?
- Curtains and blinds need planning early
- Where to put the router, access points and Aqara hubs
- Set up and test one room at a time
- What you should get when the installer hands over
Start with how you'll use each room, not a shopping list
Write down what you'd like to happen when someone comes home, leaves, watches TV, goes to bed or gets up. Then list the lights, curtains, air-conditioning, locks and sensors each of those moments involves.
This sorts the genuinely useful ideas from the novelties. It also shows you where one well-placed sensor or scene switch could handle several things at once.
Be specific. ‘Good Night’ isn't a plan until you know which lights go off, which curtains close, whether the air-con changes, what happens if someone is still up, and where you can cancel it. For each routine, note who starts it, which rooms it covers and how you'd do the same thing by hand.
- Step 1Routines and rooms
- Step 2Device and load schedule
- Step 3Power, boxes and data
- Step 4Carpentry and curtain details
- Step 5Commission and hand over
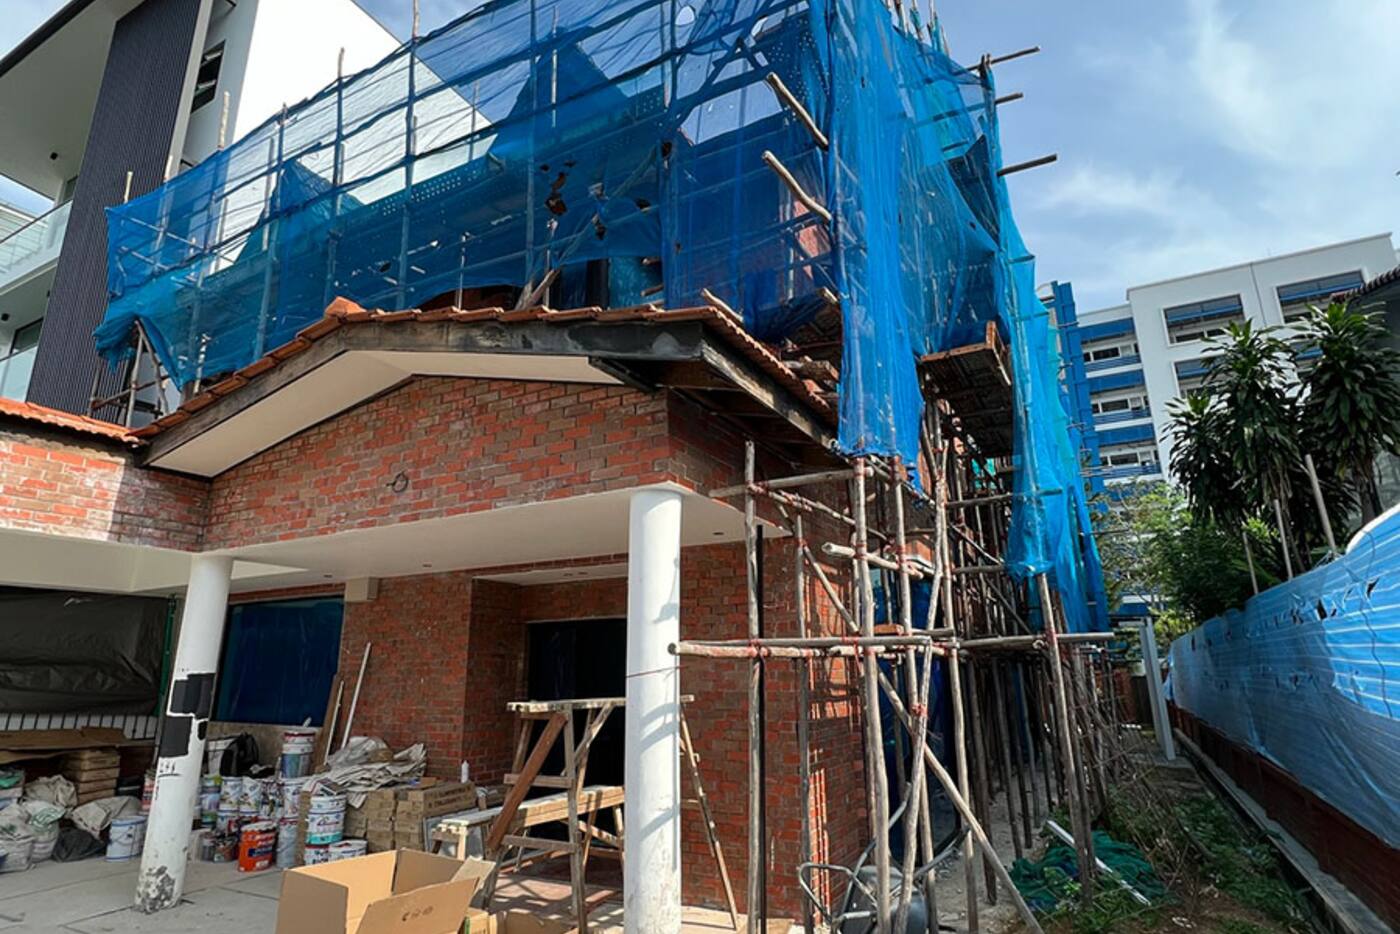
Switches, neutral wires and box depth
Whether a smart switch fits depends on the exact product, the light it controls and the wiring behind it. Give your electrician the list of products before the work starts rather than assuming any smart switch fits any existing point.
For each switch, note what it controls: a dimmable driver, a non-dimmable LED driver, a fan, a motor or something else. Smart switches and dimmers have minimum and maximum loads and only work with certain kinds of light. A light that's fine on an ordinary switch can flicker, glow faintly when off or dim unevenly on an unsuitable smart one.
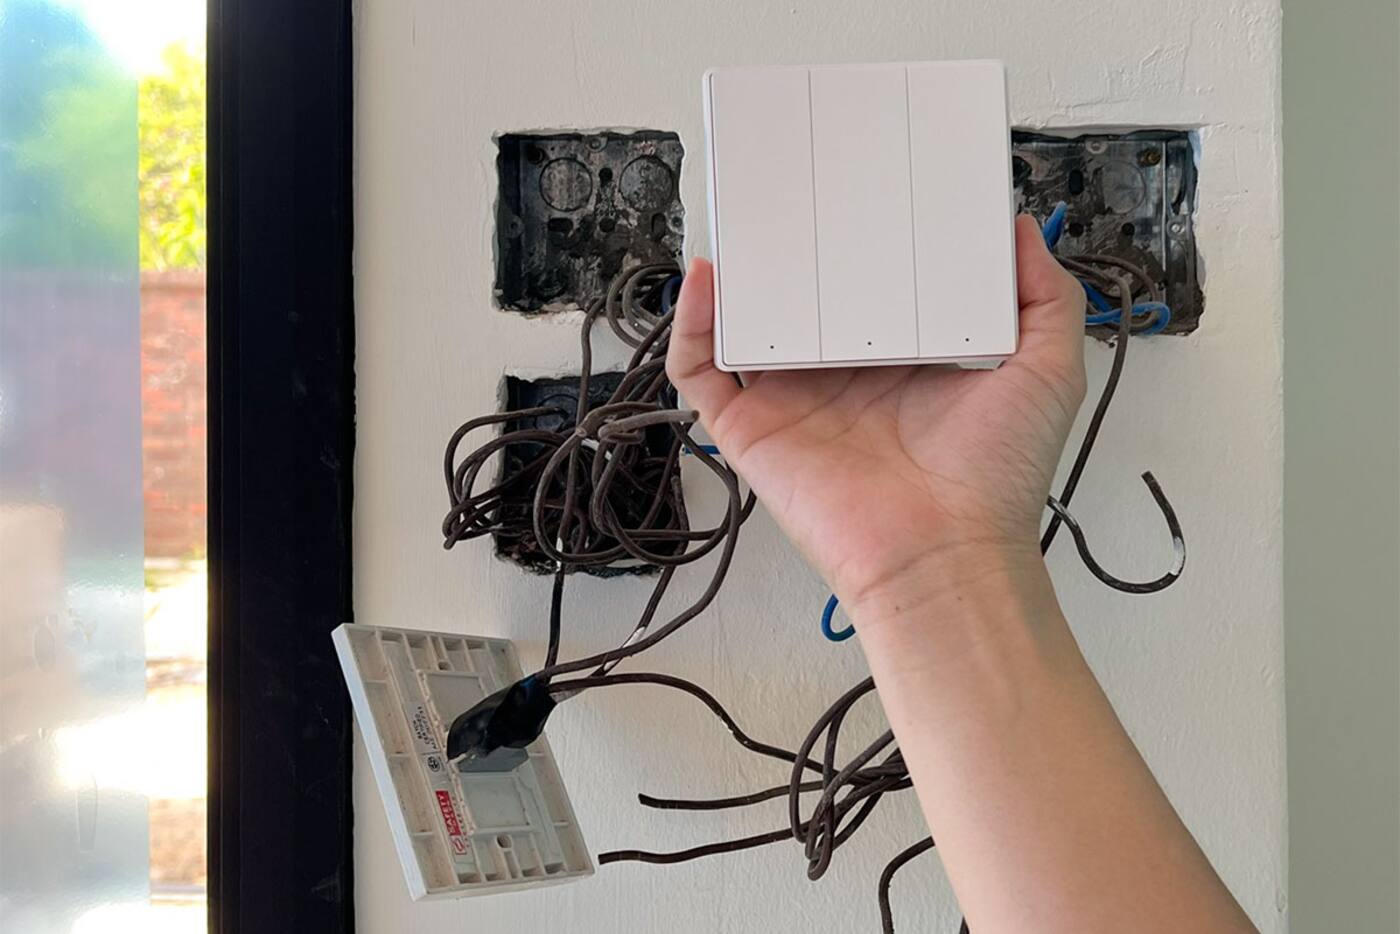
The neutral isn't the only thing to check. Deep smart switches, connectors and looped wiring all need room in the box, and a multi-gang point in a shallow masonry box can get very crowded. Find out how thick the finished wall will be, and try fitting a sample switch before tiling or panelling makes changes difficult.
- Check whether the switches you've chosen need a neutral wire.
- Make sure each switch box is deep enough for the switch or controller going into it.
- Give curtain motors permanent power, with an isolation point you can reach.
- Plan power and data points for hubs, cameras, doorbells and network equipment.
- Keep your essential lights working from physical switches.
One room-by-room plan for every contractor
Keep one list with a line for every room and every fixed device, and make sure your interior designer, electrician, curtain supplier, network contractor and smart home installer all work from the latest version. Product names alone aren't enough: note the power supply, cable route, box, mounting position, what it controls and how it will be serviced.
Flag anything that gets expensive once the finishes are on: the neutral and box depth at each switch; which side the curtain motor sits and where its power is; the doorbell transformer or network route; what each camera will see and where it records; power and data for the hub; and where the Wi-Fi access points go. Where a product's dimensions affect carpentry or metalwork, attach its drawing.
Then check the list against the ceiling plan, the wall elevations, the carpentry drawings and the door and window hardware. A point that looks fine on the electrical plan can still end up useless if a pelmet, mirror, cabinet door or gate blocks it.
Neutral vs no-neutral Aqara switches Plan an Aqara video doorbell installation Plan motorised curtains and blinds
| System | Decide before the work starts | Check before you move in |
|---|---|---|
| Wall switches | What it controls, type of light, neutral, box depth, gangs, and whether each button cuts power or only sends a command | Manual control, which way it switches, dimming and what happens after a power cut |
| Curtains / blinds | Type, opening, track, motor side, power, pelmet clearance and access | End positions, how they stack, noise and manual operation |
| Doorbell / lock | Door and gate shape, mounting width, power route, chime or hub position | Camera view, signal, access methods, removal and emergency access |
| Cameras | Coverage, privacy boundary, power, network and where footage is stored | Day and night view, recording, outages and who has access |
| Hubs / network | Permanent power, Ethernet or Wi-Fi, an open spot for the radio, and backup power | Coverage, labels, who owns the account and how to restart it |
Smart switches or smart lights?
A smart wall switch controls the whole circuit, so everyone keeps the habit of pressing a switch. It's the right choice for fixed lighting where plain on/off or compatible dimming is enough. A smart bulb or smart light fitting gives you individual brightness and colour-temperature control, but it normally needs to stay powered. Turn it off at an ordinary switch and it drops off the network.
You can combine the two, as long as the setup is designed so they don't fight each other. For each wall control, decide whether it cuts the power, sends a wireless command, or runs in decoupled mode where the product supports it, keeping the power on and acting as a remote for the smart light. Write that down on the electrical plan.
Curtains and blinds need planning early
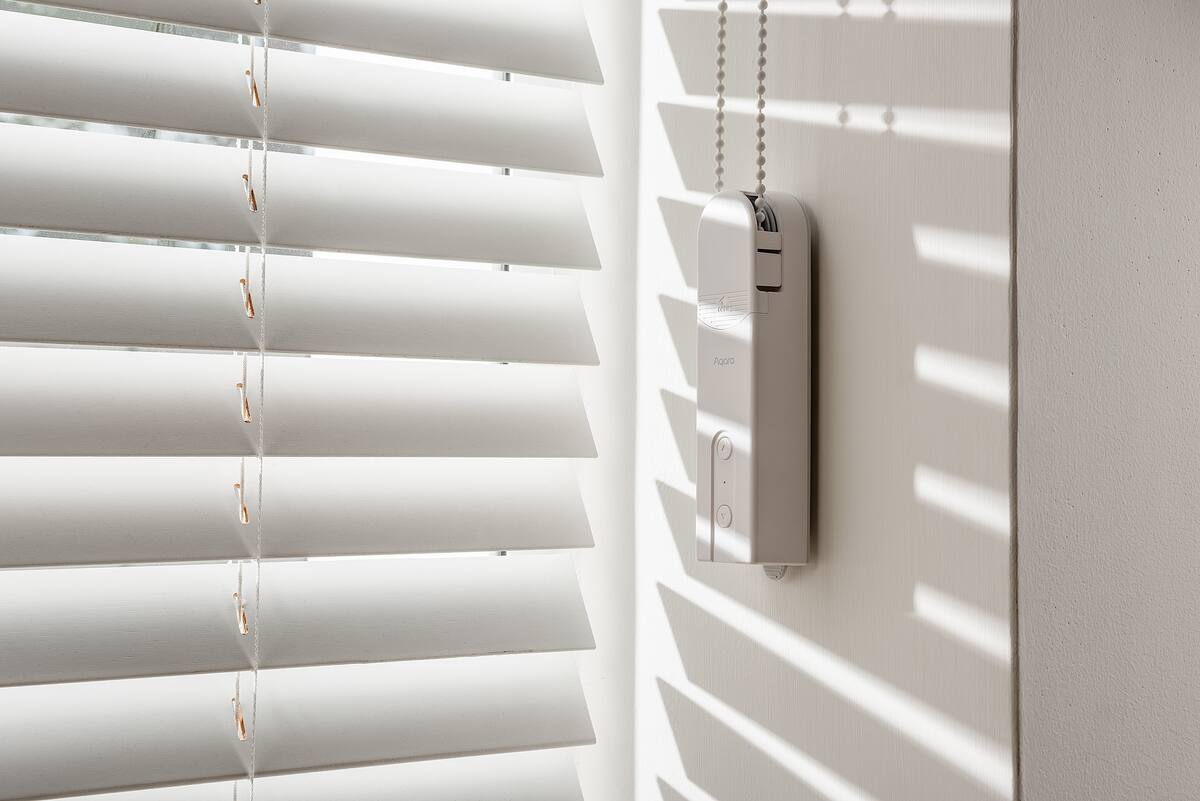
Motorised curtain tracks affect the track length, how much space the curtains need when open, the pelmet size, where the power goes and which way the curtains open. Roller blinds and other shades have their own tube, bracket and power needs.
Get your curtain supplier and smart home installer talking before measurements are fixed. A motor can't make up for a track or pelmet that was designed without it.
If you have day and night curtains, decide whether both layers will be motorised and whether they part in the middle or stack to one side. Someone will need to reach the motor, its connector and its isolation point for servicing. A neat closed pelmet you'd have to break open to get at the motor isn't finished.
Shop smart curtains and blinds
Where to put the router, access points and Aqara hubs
Your router, access points and hubs need spots with good coverage where you can still get to them. A metal box or sealed carpentry takes away both. Test the final positions before you move in, especially at the main door, the service yard and the bedrooms furthest away.
If you can, run Ethernet to fixed hubs, access points, TVs, desks and camera positions before the ceilings close. It won't replace good Zigbee or Thread coverage, but it takes load off the Wi-Fi and gives fixed equipment a dependable connection. Leave power points and ventilation for the router, network switch and any backup power supply.
Set up and test one room at a time
Settle on a naming pattern before you pair anything. Room, function and position are usually enough. In each room, check which way the switches work, where the motors stop, which way the sensors face and that manual control works, before you build any whole-home scenes. A fault is much easier to track down while each room still works on its own.
Then test the routines that span several rooms in everyday conditions: doors closed, curtains up, the Wi-Fi as busy as usual and people moving around. Include a power cut. Some lights and motors go back to their previous state when power returns; others let you choose what they do.
What you should get when the installer hands over
You should get a record of the device names, which room each is in, the scenes, the automations, who owns the accounts and how to recover them. The finished system should be under your control, not sitting in an installer's personal account.
Ask for the final list of circuits and devices, the hub locations, what depends on the network, the warranty records and instructions for adding someone to the household. Where the app allows it, export or take screenshots of the important settings. Any temporary installer access should end at handover, and the recovery email addresses and phone numbers should be yours.
Settle these before the renovation closes them in
Rooms and controls
- Your routines, and how to do each one by hand
- Every smart switch, what it controls and where it goes
- Curtain type, motor side, number of tracks and service access
Wiring and handover
- Power, box depth, data points and hub positions
- One shared plan that every contractor works from
- Accounts in your name, final device names and recovery details written down
Get one room fully working before you repeat the setup across the whole home.
Official references
Product and standards information was checked against these primary sources. The article above is original Aqara Singapore editorial content.
Before drawings are final
Turn the way you use each room into a smart home plan.
Use the planning page to organise what you need, or send us your floor plan and tell us what stage the renovation is at.